The world is shifting to boost, but for many bikes, the non-boost wheelsets are an expensive item to replace, just to get another 10mm of axle width. This means chasing older forks and missing out on some of the newer technology. But, luckily, a rainy day gave me the opportunity to put a new boost fork, a RockShox Pike, onto my old full suspension bike with an old non-boost Chris King/Stans wheelset. The upgrade was cheap and easy, but the real challenge will be dealing with wheel issues in the field.
Standard wheelsets have 100mm wide axles, and the new boost standard bumps that up to 110mm. Most of the new forks hitting the market are boost, and even though non-boost forks are still available, expect them to go the way of 26" wheels soon. I happened to be buying a used fork and a good deal on a boost fork locally meant that I needed an adapter to make my existing (expensive) wheels work with the new boost fork. Enter the $10 boost adapter on eBay.
The kits run $10-15 and there are plenty to choose from. If you have time, you can also buy them direct from China for only a few dollars, but I was not interested in waiting. I had it in hand in about 4 days, just in time for a rainy weekend.
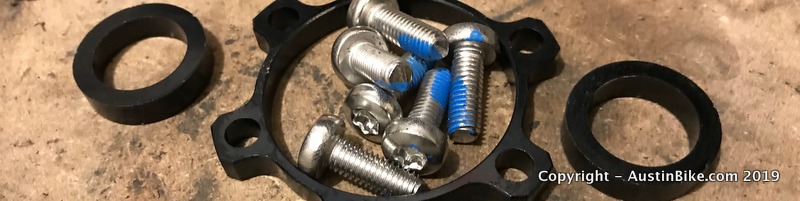
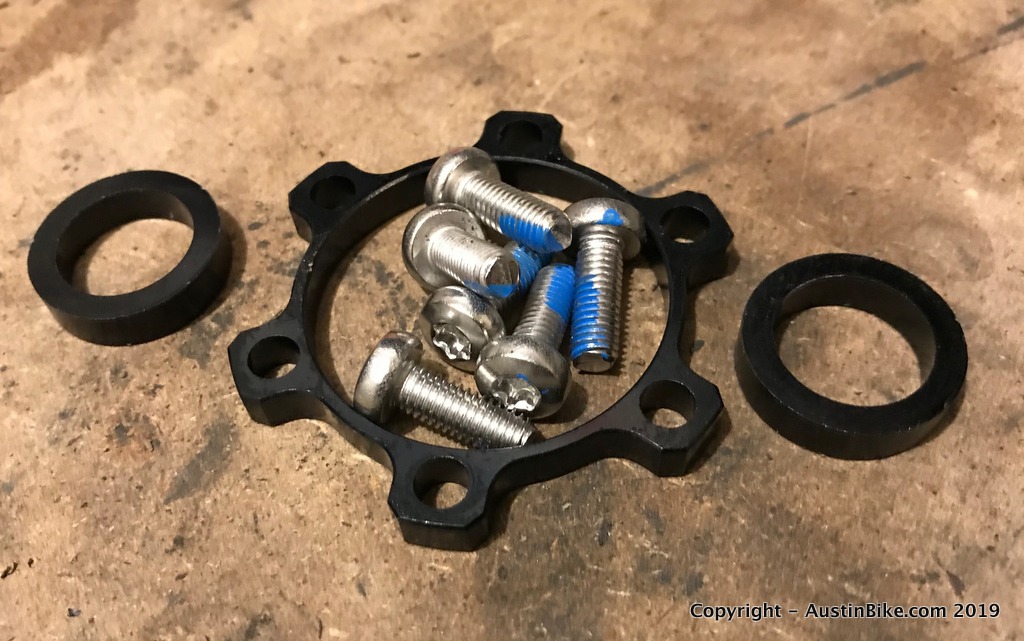
The kit consists of two 5mm spacers, one for each end of the axle, a 5mm brake rotor spacer and 6 extended rotor screws. More on the end spacers in a bit. It's all pretty straightforward in terms of where everything goes on the bike. You can buy more expensive kits (~$45) from MRP that are supposed to be better, but for this experiment I was already in $400 for the fork and $50 to change the air spring to get it to the right amount of travel, so I went cheap.
One of the catches of the kit is that you have to put the wheel on with the bike upside down. Gone are the days of standing the bike on the fork, lifting and then dropping it onto the wheel, because of the two end spacers you really need to have the bike upside down to put them on right. One of the concerns I have is that trailside repairs could be an issue if one of the spacers gets away and you can't find it in the dirt and leaves. Because of this I plan to buy a spare set ($5 from China) and toss that in my pack.
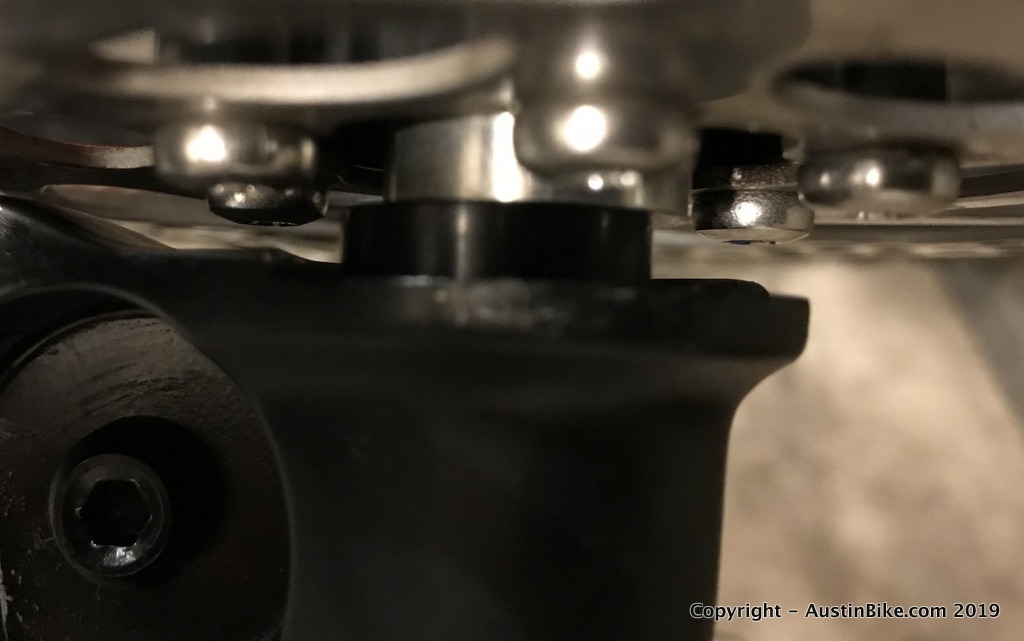
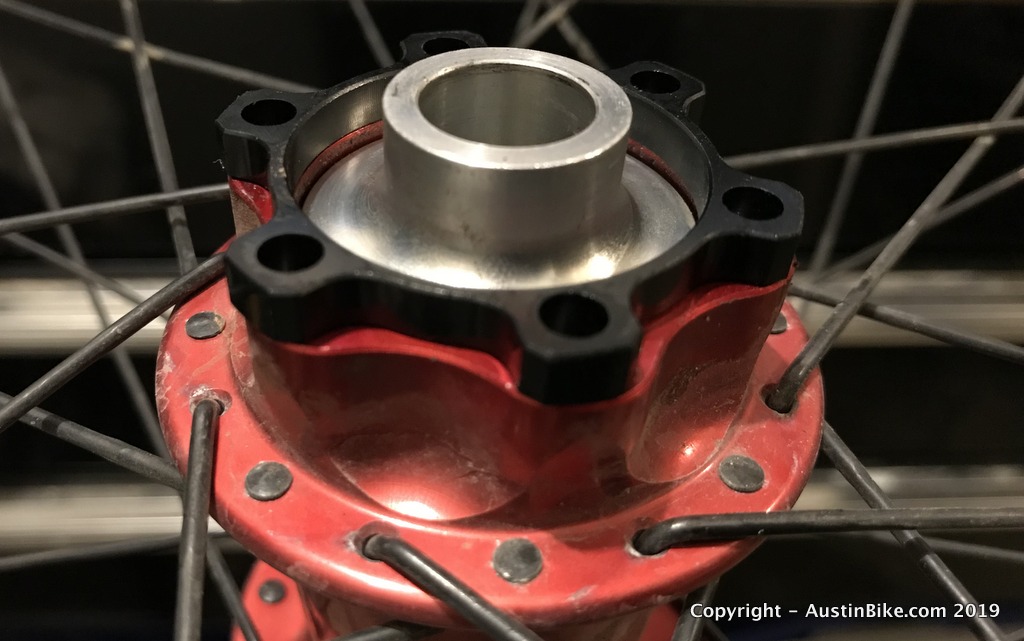
As you can see in the picture above, the spacers move freely, which is why I recommend installing with the bike upside down. You have to align the spacers and the hub as you are putting the axle in, which is a pain in the ass, especially if you are in a darker situation on the trail. I had some challenges in a well lit garage.
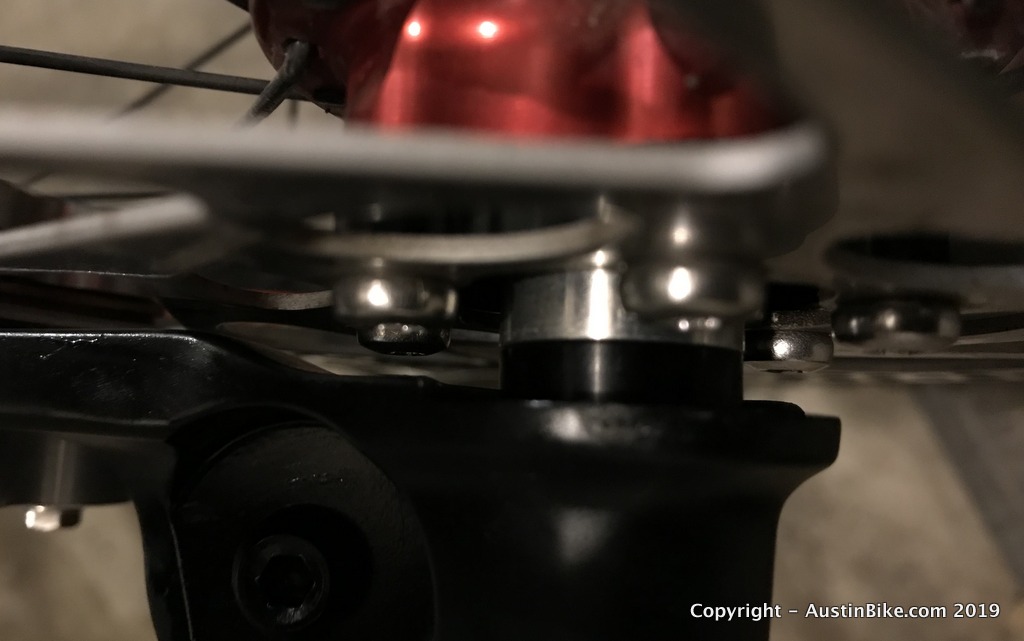
This is what it looks like with the spacer aligned and the axle inserted.
The brake rotor spacer sits between the hub and the rotor, pushing it out far enough that the rotor will still match the calipers on the fork. The six included bolts are really important, they give extra stability and torque on the rotor to keep it in place when braking. The old bolts are just too short, even if you think they could fit; you really want a nice long connection to keep your rotor in place.
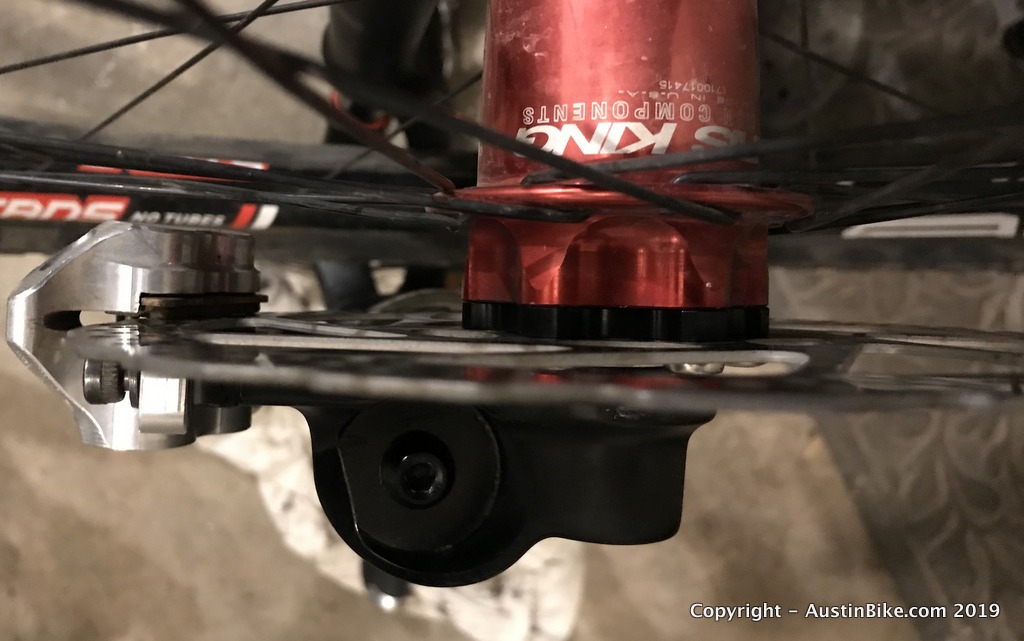
Once totally installed, the spacing for a 100mm wheel is perfect in a 110mm boost fork.
Ultimately I would like to see a real Chris King 110mm axle for the wheel as that would remove the need for spacers, but at $75-80 for a new axle, that is a different problem for another day.